UINavigationController和UIScrollView滚动-92

2021-01-12 22:13:23

这个问题是在计算UIScrollView滚动式发生的。可费了很多劲解决的。最后是通过获取系统栏高度,tartab高度,减去这些高度解决的。

参考地址 UINavigationController + UIScrollView组合,视图尺寸的设置探秘(三)

还是在苹果的 View Controller Catalog for iOS 文章中找到答案。文中提到了两点:

1、If the navigation bar or toolbar are visible but not translucent, it does not matter if the view controller wants its view to be displayed using a full-screen layout. 

如果navigation bar或者toolbar不透明,view controller就无法让它的view全屏显示。换句话说,如果不希望view controller里面的view全屏显示,就应该把navigation bar设为不透明。

2、If the main view of the underlying view controller is a scroll view, the navigation bar automatically adjusts the content inset value to allow content to scroll out from under the navigation bar. It does not make this adjustment for other types of views. 

如果view controller下的主视图是scroll view,navigation bar 会自动调整其content inset的值,以便被盖在navigation bar底下的内容能被滚动出来,对于其他类型的视图则不会做此调整。


结论很清楚:要想解决navigation controller下scroll bar诡异的滚动问题,只需要把navigation bar设为不透明。再做一把实验,在viewDidLoad中插入一行,将navigationController.navigationBar.translucent属性设为NO:

- (void)viewDidLoad {
    [super viewDidLoad];    self.navigationController.navigationBar.translucent = NO;
    
    self.scrollView.pagingEnabled = YES;
    CGRect rect = self.scrollView.frame;
    rect.size.width *= 2;
    self.scrollView.contentSize = rect.size;
    
    CGRect rtViewA = self.scrollView.frame;
    rtViewA.origin.y = 0;
    UIView *viewA = [[UIView alloc]initWithFrame:rtViewA];
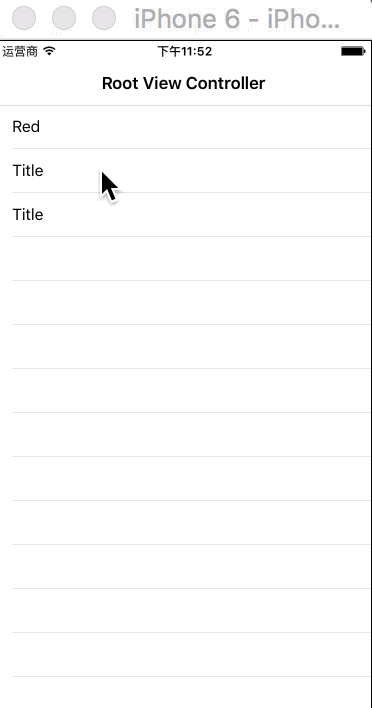
    viewA.backgroundColor = [UIColor redColor];
    [self.scrollView addSubview:viewA];
    
    CGRect rtViewB = self.scrollView.frame;
    rtViewB.origin.x = rtViewA.size.width;
    rtViewB.origin.y = 0;
    UIView *viewB = [[UIView alloc]initWithFrame:rtViewB];
    viewB.backgroundColor = [UIColor blueColor];
    [self.scrollView addSubview:viewB];
}

再运行,结果如下:

视图错位的问题倒是没有了,可是竖直方向的滚动条还是在的呀!再打开Debug View Hierarchy,观察scroll view的位置是没问题了:

打印视图信息,发现新情况:scrollview的contentSize高度比frame高出64,viewA的也是:

Printing description of $3:<UIScrollView: 0x7ffc3400c600; frame = (0 64; 375 603); autoresize = W+H; gestureRecognizers = <NSArray: 0x7ffc33d036a0>; layer = <CALayer: 0x7ffc33c56100>; contentOffset: {0, 0}; contentSize: {750, 667}>Printing description of $4:<UIView: 0x7ffc33c40650; frame = (0 0; 375 667); layer = <CALayer: 0x7ffc33c1c6b0>>

可是scroll view的contentSize跟它的frame的高度应该是一样的,为什么此时比它高了呢?肯定是frame的高度被调整过,而contentSize不知道,因此不会跟着改变。调整frame的只能是autolayout执行了约束,根据机型做了适配。我们必须在autolayout约束策略执行之后再去调整contentSize。应该在哪里做呢?文档里介绍:当view的bounds改变或者当视图改变子视图的位置,系统将调用viewDidLayoutSubviews函数,我们应该在这里调整scrollView.contentSize的大小。于是添加viewDidLayoutSubviews函数,如下:

-(void)viewDidLayoutSubviews
{
    [super viewDidLayoutSubviews];
    
    CGRect rect = self.scrollView.frame;
    rect.size.width *= 2;
    self.scrollView.contentSize = rect.size;
    
    CGRect rtViewA = self.scrollView.frame;
    rtViewA.origin.x = 0;
    rtViewA.origin.y = 0;
    self.viewA.frame = rtViewA;
    
    CGRect rtViewB = self.scrollView.frame;
    rtViewB.origin.x = rtViewB.size.width;
    rtViewB.origin.y = 0;
    self.viewB.frame = rtViewB;
}

再次运行,终于正常了:

完美!示例代码可参见:https://github.com/palanceli/NavigationScrollView


  • 2020-03-14 23:15:25

    icomoon使用详细介绍

    此篇博文讲述如何利用icomoon导入图标,从而把自己想要的都通过icomoon方式进行,大家都知道,网站以及移动端,用图标还是尽量选择这种。因为直接用image有些图标会失真,从而也是前端开发之中,需求去掌握的一项,很简单的就几个步骤。

  • 2020-03-14 23:39:59

    vuetify和@nuxt/vuetify icon 之我见

    vuetify中v-icon,貌似默认支持 Material Design Icons, Material Icons, Font Awesome 4 and Font Awesome 5, 我自己单独引入了vuetify 用哪一个图标都没有问题。但是用了@nuxt/vuetify只能用mdi-home这样的。不知道因为啥。肯定是封装后,封装成一个了。 但是我修改vuetify的设置,哪一个图标也都能用。哎,不过多研究了。

  • 2020-03-16 15:57:53

    nuxtjs中单独引入Message组件的问题

    // 引入elementUIimport { Message } from 'element-ui';//由于Message组件并没有install 方法供Vue来操作的,是直接返回的,因此按照官方文档单独引入的方法是//会报错的,需要给 Message 添加 install 方法Message.install = function (Vue, options) {Vue.prototype.$message = Message}Vue.use(Message )//消息提示

  • 2020-03-16 16:03:20

    css的var()函数

     随着sass,less预编译的流行,css也随即推出了变量定义var函数。var()函数,就如同sass和less等预编译软件一样,可以定义变量并且进行对应的使用。

  • 2020-03-16 16:52:05

    对icomoon的误解,以及最快速的使用

    此时需要注意顶部第一个选项,Quick Usage,一定要打开,Enable Quick Usage,谁让咱英语不好呢,这个时候会出现一个css连接,直接引用就好了,就可以随意使用图标了,引入这一个css就能实现我们的功能,省区引入太多文件的烦恼,你可以在浏览器打开这个css,可以看到里面把我们所用的文件整成base64了。所以挺好用的。

  • 2020-03-17 09:47:05

    video标签视频不自动播放的问题

    添加 muted 属性,就可以通过地址栏进入网页的时候自动播放了,手机端还是有的有限制的,比如iphone浏览器,就不行,苹果手机为了保护用户的流量和用户的意愿,是禁止自动播放的,必须有手动触发。

  • 2020-03-17 14:21:31

    nuxt+pm2 自动化部署及打包后文件自动上传阿里云 oss(精华)

    部署nuxtjs,这一篇文章就够了,pm2 代码自动发布依赖于 git 工具,先将 ssh 密钥配置再你的代码仓库(github 或者 gitLab),具体操作自行 google 或者点击github 配置 ssh。 使用 ssh 密钥链接服务器 s $ ssh-copy-id root@1.2.3.4 # 把本机的 SSH 秘钥添加至服务器,配置成功后,以后就不需要再执行这条 SSH 命令了